
Knowing how to clean leather and preserve the quality of your leather goods is the difference between a jacket that lasts decades and one that peels, cracks, and fades within a year. Because leather is a delicate material, you need the right cleaning method. Cleaning a leather jacket differs from cleaning a dusty bag. The application of the wrong cleaning method can reduce the lifespan of your leather goods quickly. Therefore, this guide walks through the effective and safe techniques to clean your leather items.
Stubborn oil stains on leather, dried mud, or mold require a specific method resulting in clean leather goods. In the guide below, you’ll learn the step-by-step process for cleaning leather jackets, purses, bags, wallets, and shearling coats. Also, the guide has a separate section for cleaning mold and oil stains from the leather, so every piece gets the treatment it deserves.
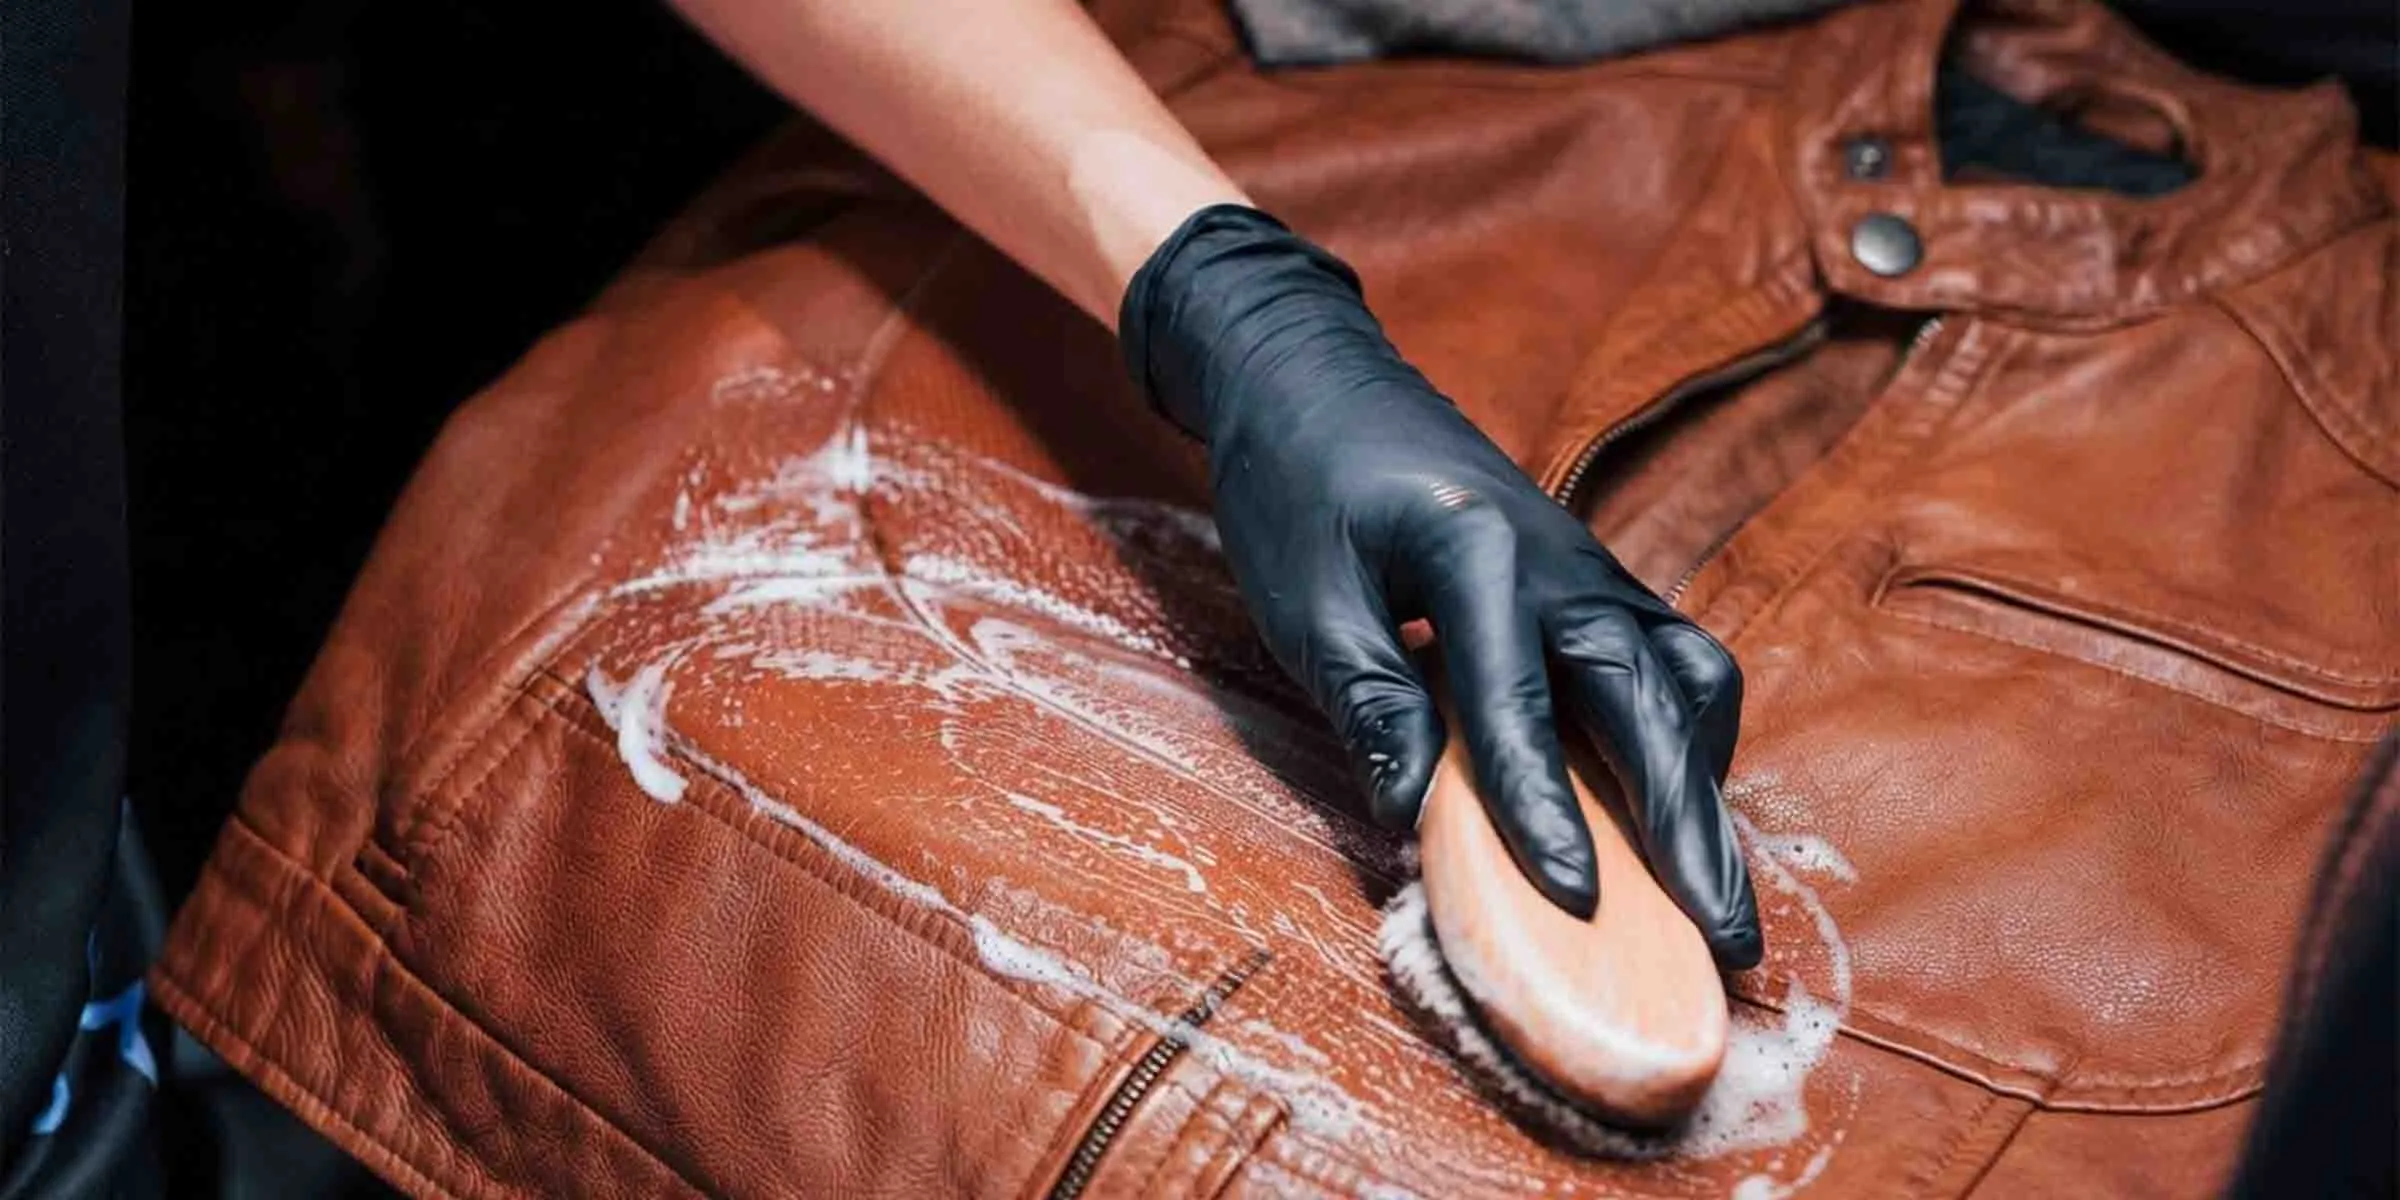
Step-by-Step Leather Cleaning Guide
Having brief information about the cleaning process of leather is not enough to start cleaning a premium leather product. Mastering these steps will help you confidently care for your high-value leather items and ensure their longevity.
According to the SCIN experts, it is highly recommended to remove dust and dirt from the leather surface prior to the application of a cleaning product. You can use a soft-bristled brush and a micro-fiber cloth for this purpose.
Before moving forward in the process of cleaning a leather purse or any other item, clearly identify the specific problem areas under good light. This evaluation helps you target cleaning more effectively and prevents soaking hardware later, making the process more efficient.
Once the surface is clean, it’s time to move on to the second step of applying a safe cleaner. Using a pH-balanced leather cleaner or a mild soap heavily diluted with water helps ensure you feel capable of protecting your leather, avoiding damage from harsh chemicals.
For a deep cleaning, focus on the more concentrated leather cleaner. Some of the common wrong products for cleaning leather include baby wipes, furniture polish, ammonia-based cleaners, and wax-based cleaners. Using these harsh chemicals will permanently damage your leather goods. So, the best option is to stick to leather-cleaning products.
With the cleanser applied, gently agitate and wipe the dirt from the grain without scrubbing aggressively. Handling your leather carefully will make you feel more confident and in control of the cleaning process and its results.
After cleaning the complete leather item, wipe it again with a clean cloth separately. This final wipe will help clean any solution left on the surface, as any residue left will attract dust.
After wiping away the residue, make sure to place it properly and let it air dry naturally. Avoid sunlight, excessive heat, or shortcuts, as patience in drying will help you feel assured that your leather is preserved properly.
Note: During the process of drying, place clean towels or cloth in the jacket sleeves or bags to help maintain the original shape. This is essential for structured items, because leather can lose its form if left to dry and can fold awkwardly or collapse.
Finally, once the leather is fully dried, apply a good quality conditioner to restore the natural oils. This step is often missed but is important in keeping your leather healthy and making you feel like you are doing something to protect your investment.
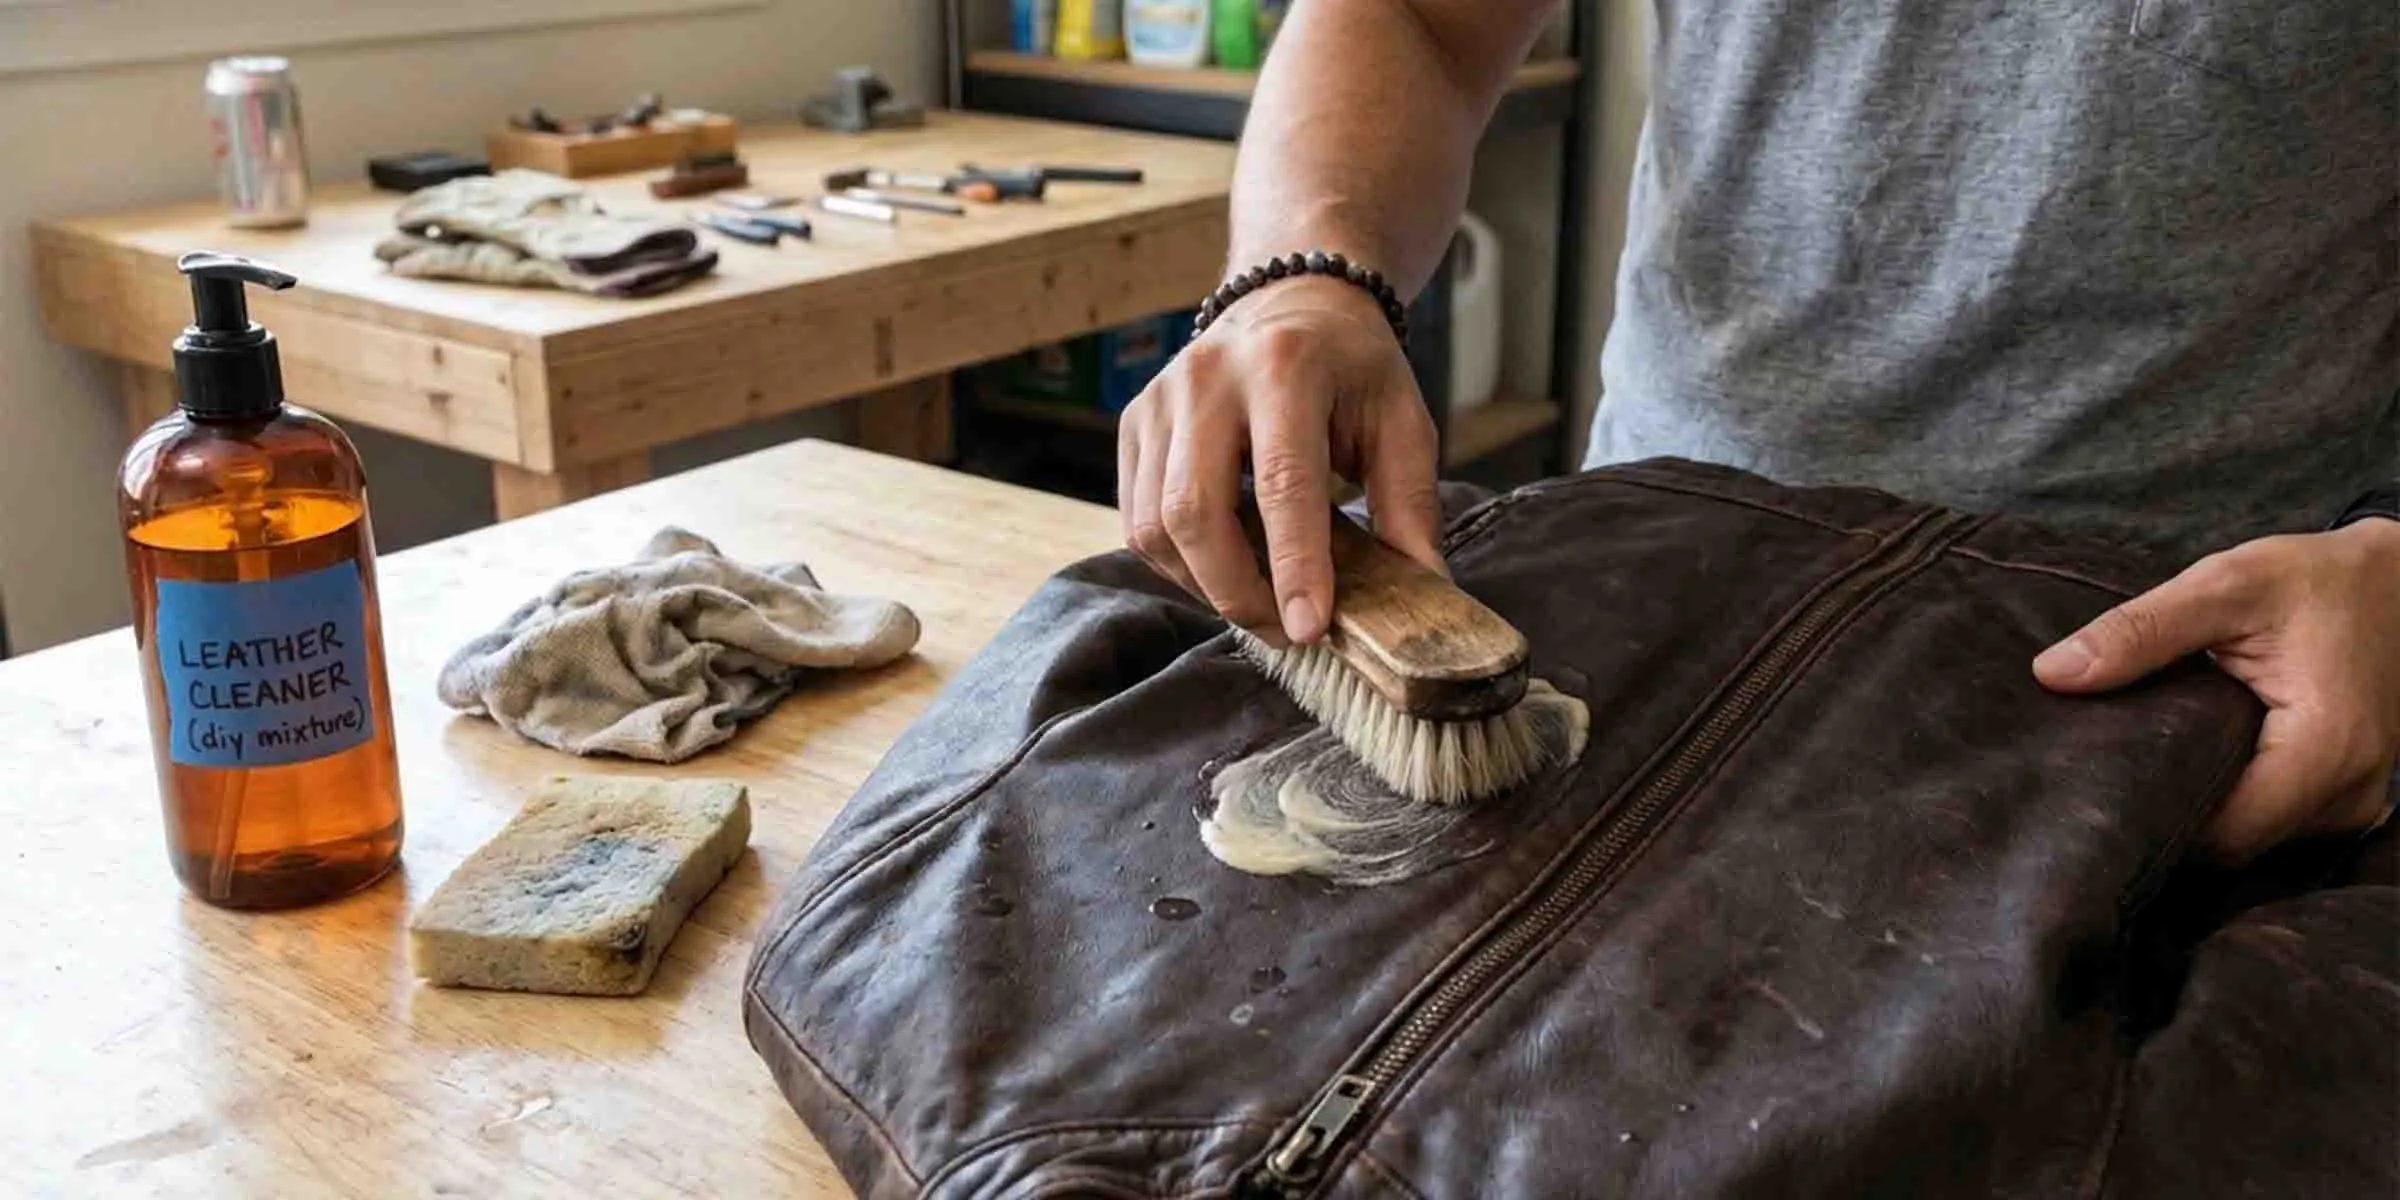
Steps to Clean Leather Jackets
Leather jackets are one of the leather products prone to body oils, friction, and everyday exposure to the environment. To keep leather jackets looking sharp, proper care is needed.
Remove Dust and Debris
Lay the leather jacket on a flat surface and brush off any dust and dirt. Pay close attention to collar folds, pocket edges, and seams. Check the sleeves and scuffs for dried mud, and pay attention to this in the cleaning process. This initial inspection is significant in cleaning leather jackets properly, since moisture on the dirty and dusty surface will create scratches.
Prepare a Mild Cleaning Solution
Use lukewarm water and mix it with the pH-balanced solution according to the product’s specific instructions. Start by applying the cleaning product to the interior surface and wait for a few minutes. Soak the cloth in the cleaning solution and twist it to remove the excess solution.
Wipe Down Gently
Now, to clean the jacket, use the dampen cloth for wiping. Make slow circular motions and do not press. Starting from the interior, move towards the exterior and wipe off the soap residue.
Rinse and Dry
After cleaning, wipe down the jacket with a fresh cloth soaked with plain water to remove soap residue. Dry the leather jacket with a dry and clean towel.
Condition
Once completely dried, apply a specialized leather conditioner. Apply the conditioner using a soft cloth and rub it in a circular motion to restore natural oils. This step is essential in the leather cleaning process as it prevents cracking.
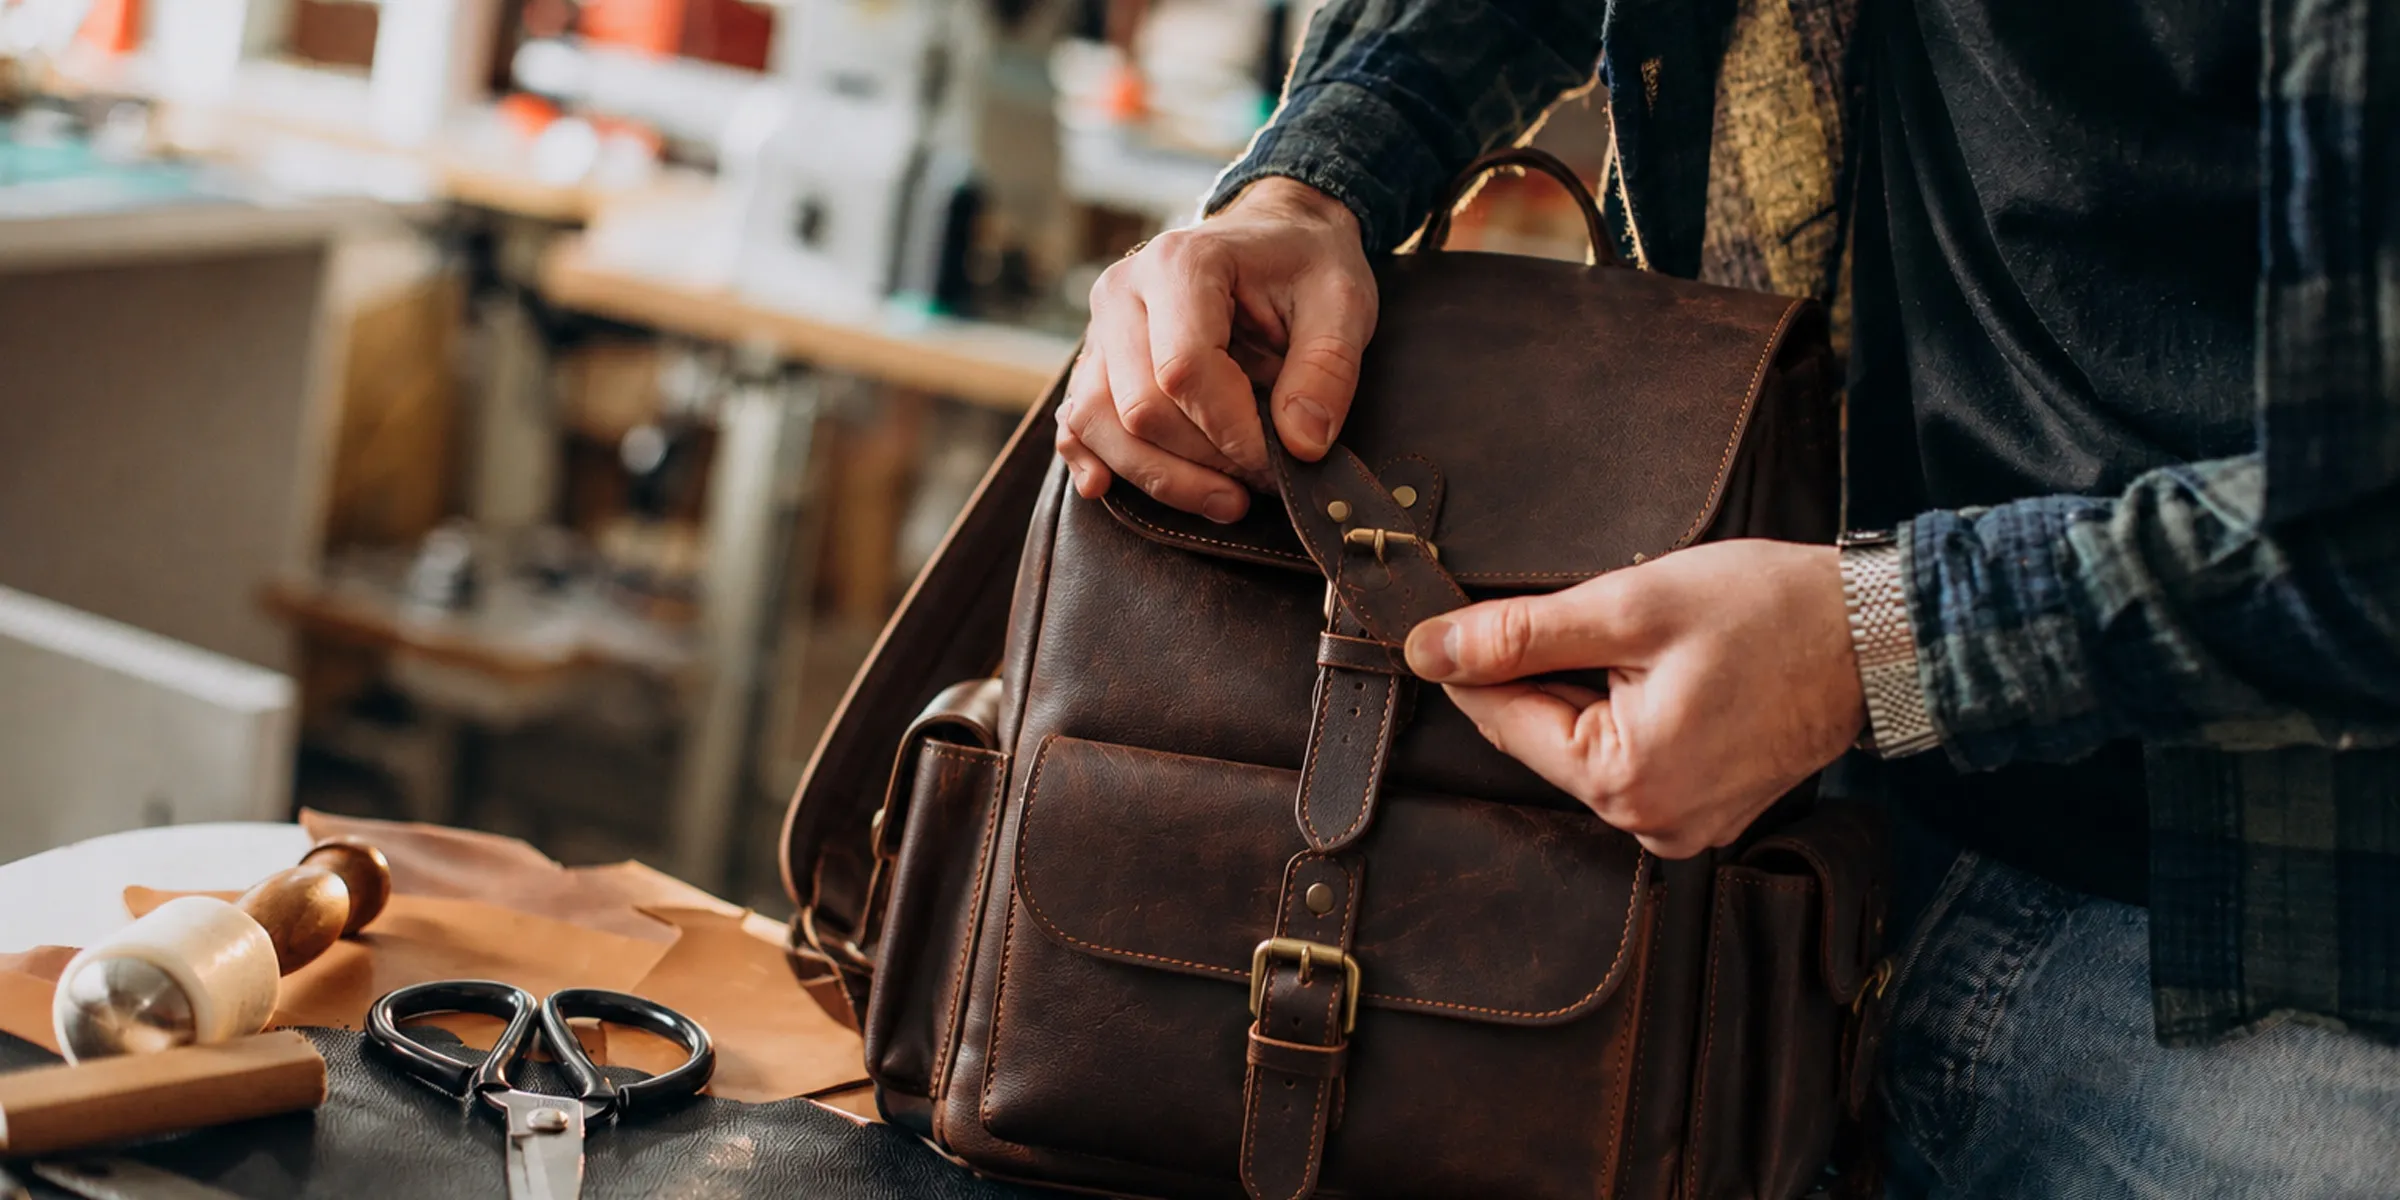
Steps to Clean Leather Bags
For a clean leather bag, it is crucial to focus on cleaning, as it is exposed to spills and constant handling. By doing a thorough routine cleaning, the life of your leather bag can be increased.
Empty and Dust the Bag
The first step in the process of cleaning a leather bag is removing items and cleaning dust. This gives you full access to every surface of the leather bag. Turn the bag inside out, making it easy for you to clean the leather bag. This step is foundational and is essential in cleaning the surface.
Prepare a Mild Cleaning Solution
Avoid harsh cleaning products and mix the mild liquid with lukewarm distilled water. Using strong and poorly formulated chemicals will result in damaging the leather, causing cracks.
Wipe Down the Exterior
Using a soft sponge or clean microfiber cloth, dip it in soapy water and squeeze to remove excess water. Gently wipe down the exterior of the leather bag in small, periodic circular motions. Pay extra attention to straps and handles.
Clean the Hardware and Interior
Now carefully clean the hardware and interior of the leather bag. The hardware to focus on during the cleaning includes any zippers, clasps, or buckles. Avoid excess moisture and use a cotton swab for tight spaces. For the interior, start with vacuum thoroughly first, then do the spot clean. Do not neglect the tight spaces, as they will create odor even after cleaning the whole surface.
Air-Dry Naturally
After cleaning is done, dry the leather bag naturally. Do not try to dry the wet bag through any shortcuts or expose the leather bag to excessive heat.
Condition and Store
Apply a leather conditioner to a leather bag in a thin layer after the conditioner is absorbed. Buff the surface gently and stuff it with a clean towel, tissue paper, or cloth to maintain its shape.
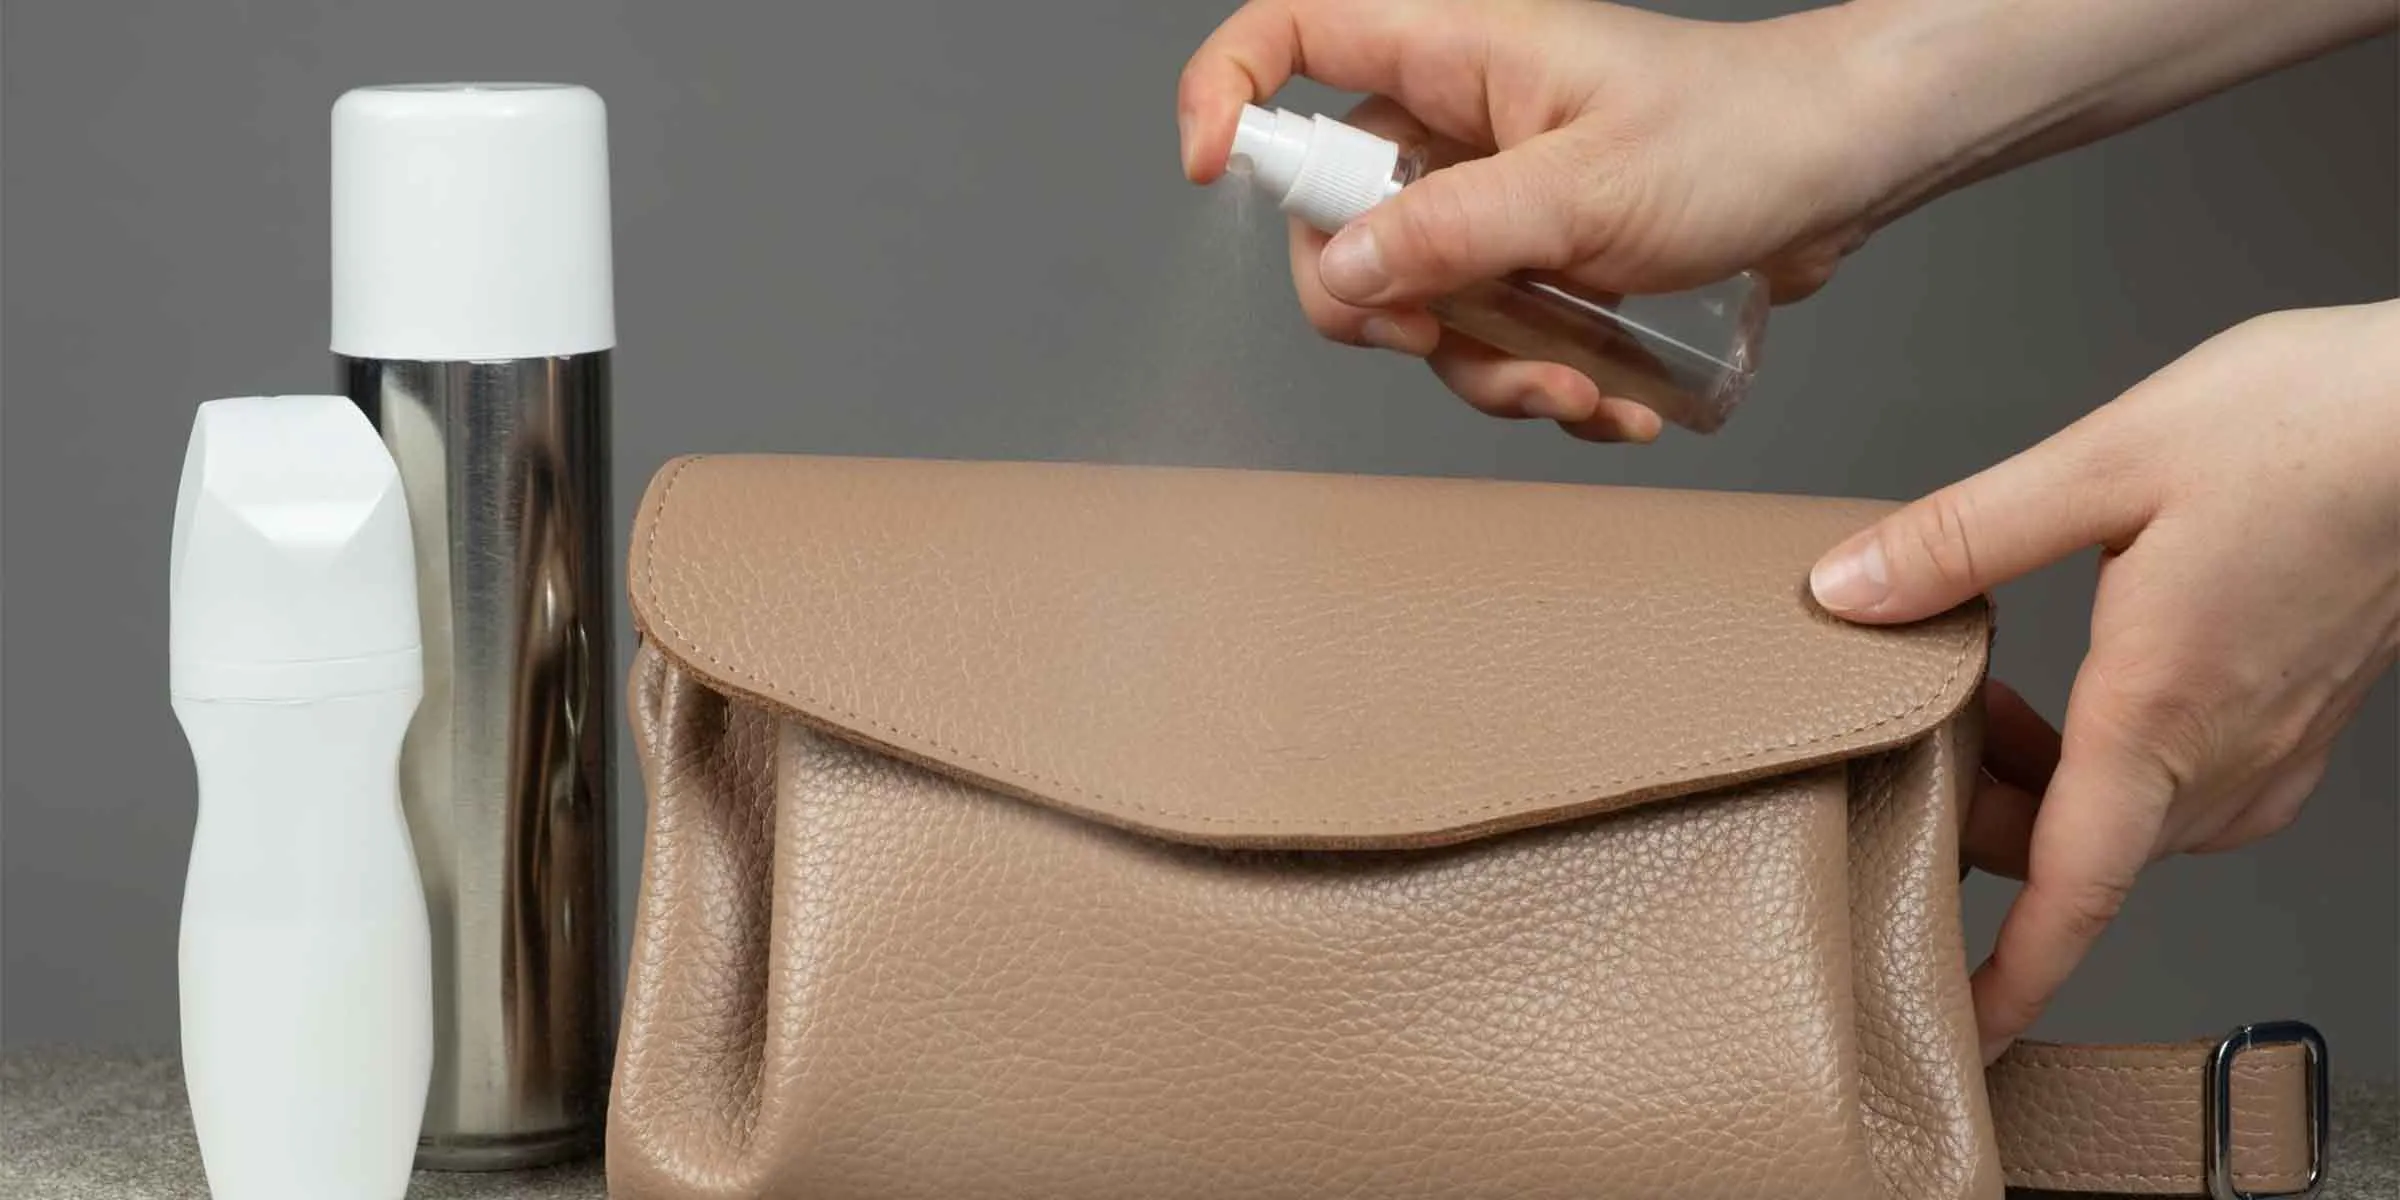
Steps to Clean a Leather Purse
A leather purse is a small item but requires careful attention and application in cleaning. Follow the steps below to make sure that your leather purse after cleaning remain intact and does not get damaged during the cleaning phase.
Empty and dust:
Cleaning an empty leather purse is far more convenient than a leather purse full of items. Therefore, it is common practice to empty your leather purse before the start of the cleaning process.
Spot test:
The second step is the spot test, in which you should apply the cleaning solution to a small hidden area on the surface. After waiting for a while, look out for discoloration or any texture change.
Wash gently:
Washing the leather purse includes using a cleaning product with a balanced pH and a cloth soaked in it. Do not overapply the solution on the surface.
Rinse and dry:
After washing, remove the soap residue from the surface of the purse. Avoid putting the purse in direct sunlight or exposing it to excessive heat to speed up the process. This will damage the surface of the purse. Also, stuff the purse with a clean towel or tissue paper to ensure that it does not fold and to maintain its shape upon drying.
Condition the leather.
Once completely dry, apply a suitable leather conditioner according to the product instructions. This is an important step in preserving the texture and sheen of the purse.
Steps to Clean a Shearling Coat
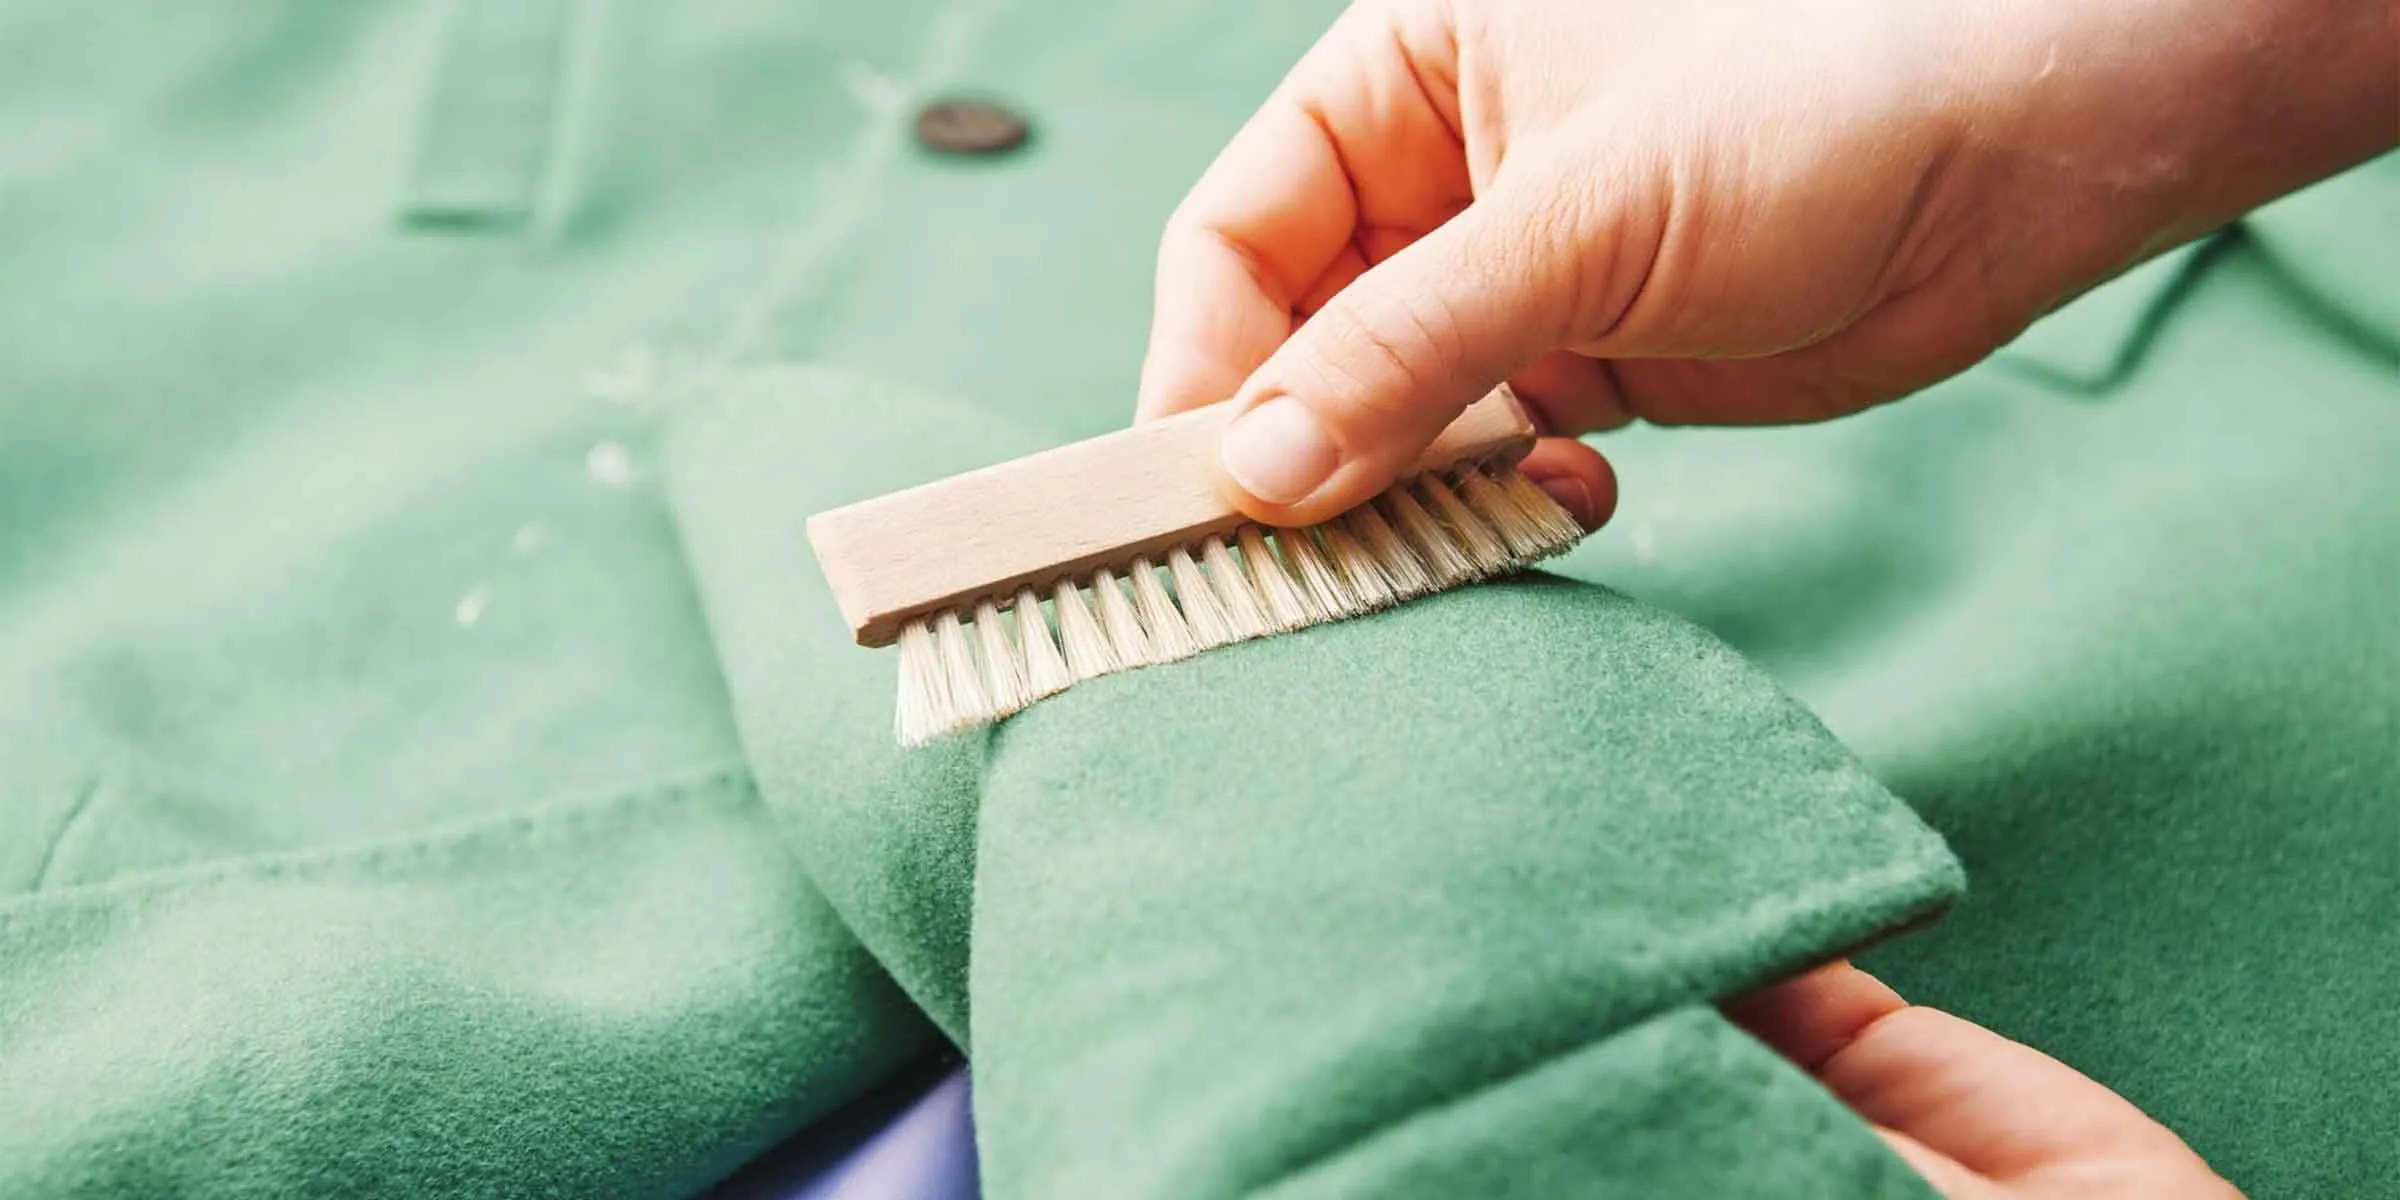
Shearling combines the tanned hide of a lamb or yearling sheep with the wool still attached to it. Due to the material of shearling, it needs cleaning with extra care. The steps will help you understand how to clean a shearling coat safely and effectively.
Remove Surface Dust and Dirt
Shake the coat outdoors; this will remove dust and debris from it. For the leather exterior, use a microfiber cloth and wipe the surface to remove dust. This initial dry cleaning will help to apply the cleaner in the later stage effectively.
Treat Specific Stains
Clean the stains using a leather-specific cleaner with a clean cloth dampened with it. For the stains on the wool side, it is highly recommended by our experts at LeatherSCIN to use only specialized shearling and wool cleaner products.
Air Dry Naturally
Once cleaned, hang the shearling leather jacket on a hanger in a well-ventilated area. Protect the coat from direct sunlight or excessive heat. Do not rush; depending on the humidity and the moisture the coat has, the drying process can take hours or even a full day.
Restore and Store
Once completely dry, apply a well-formulated conditioner to the coat, providing perfect shine restoration. Avoid folding shearling as it may damage wool fibers.
Steps to Clean a Leather Wallet
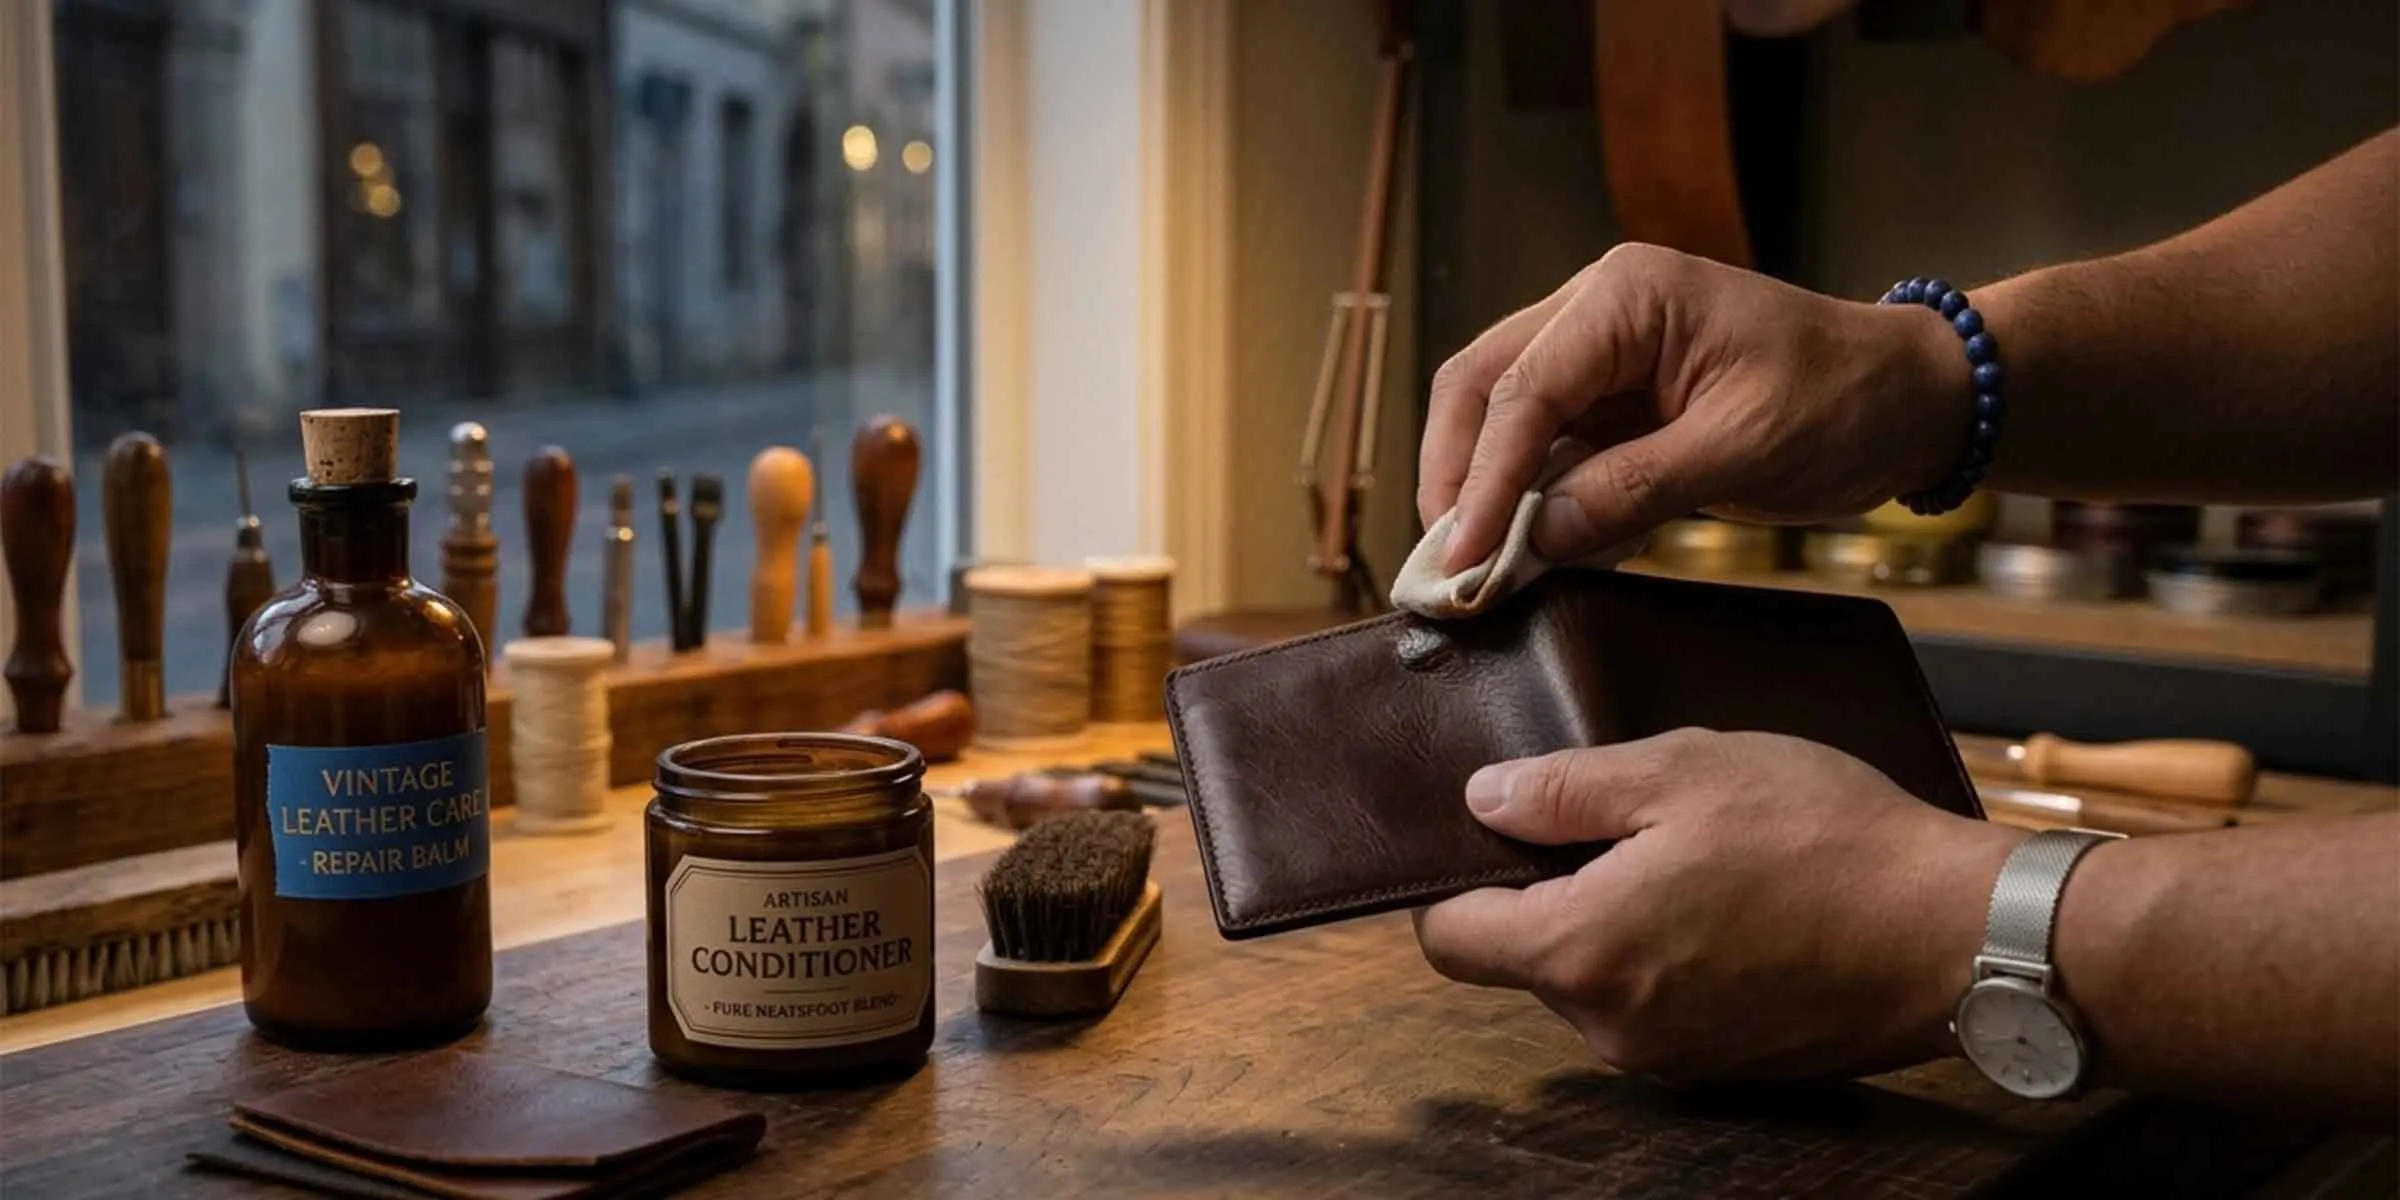
A leather wallet handles constant pocket friction, making it prone to grime buildup. The steps below outline a safe guideline to clean a leather wallet without damaging its surface, stitching, slots, or the wallet’s overall structure.
Empty the wallet:
At this stage, it is recommended to remove every bill, card and receipt from the leather wallet. This will help you to carry out the cleaning process without any hurdles.
Dry dust:
By using microfiber cloth, gently wipe the loose dust and debris. This dry pass over the wallet will provide a smooth cleaning process.
Wash gently:
Dampen a soft cloth with a mild, pH-balanced solution and slowly wipe down the wallet’s exterior surface. For interior card slots, use a cotton swab to clean tight spaces. The leather of a wallet is slightly more delicate than a jacket; therefore, always test the solution on a hidden, small area first.
Air dry:
After wiping away residue with a clean, water-soaked cloth, leave the leather wallet open and place it in a well-ventilated area.
Condition:
Once fully dry, apply a good conditioner to the leather wallet. Allow the conditioner to absorb according to the product’s description. This final step is essential for the successful completion of the wallet cleaning so that it can handle daily exposure to friction for a longer period.
Steps to Remove Mold From Leather
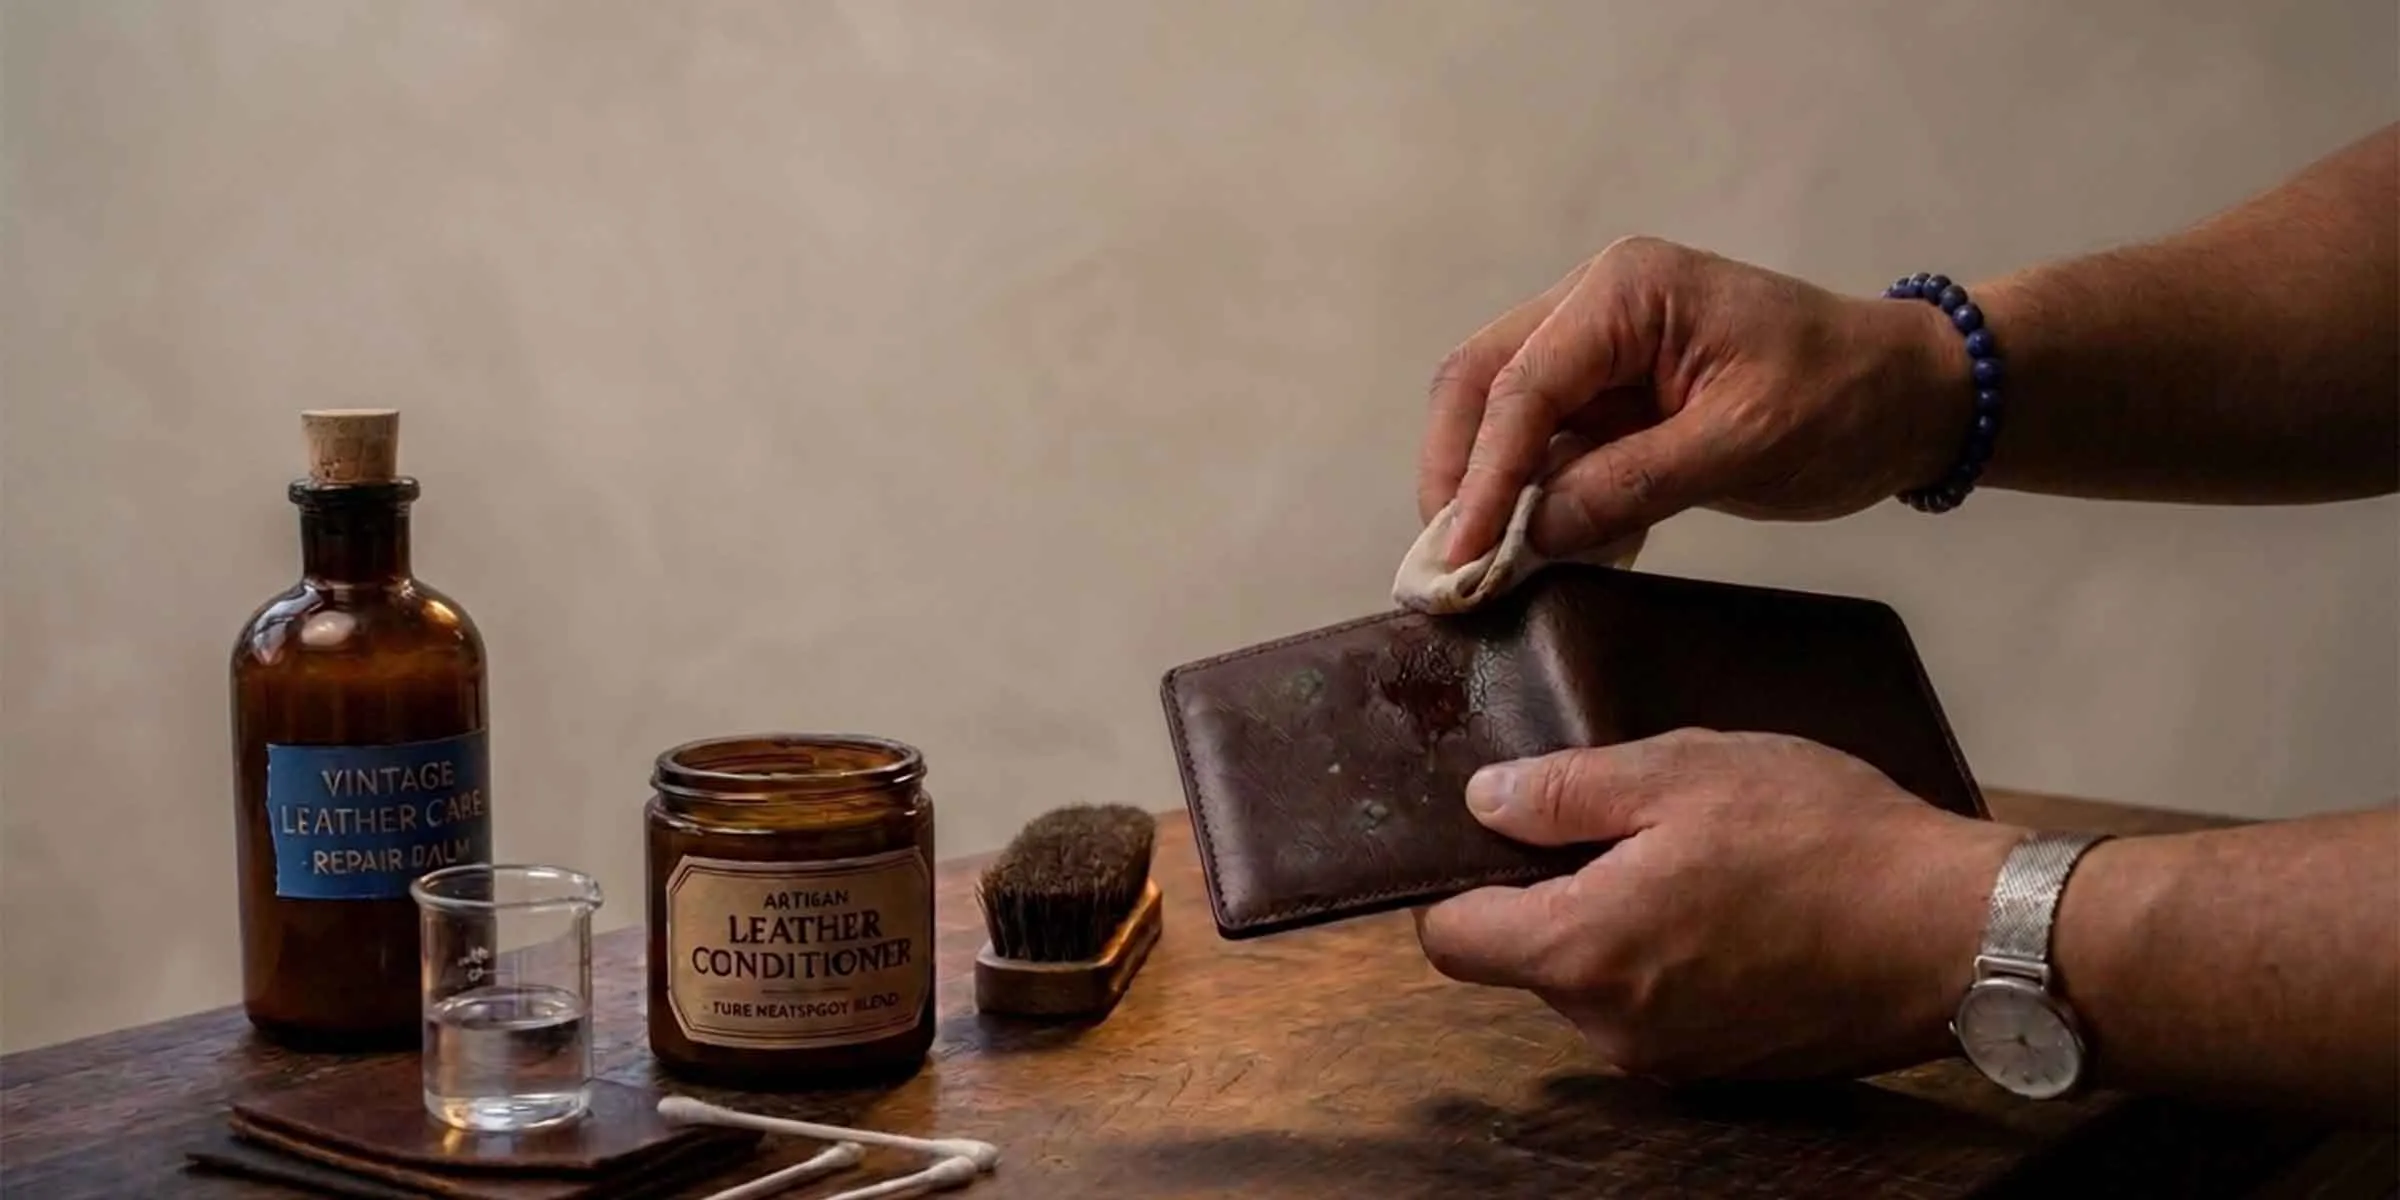
Mold on leather often appears due to trapped moisture and poor ventilation during storage. Removing mold from leather should be done quickly so that it will not cause any permanent staining on the leather surface. Follow the steps below to remove mold from leather quickly and safely.
Remove Loose Spores
Wear a mask and gently take the leather wallet outdoors. Use gloves for cleaning and gently brush away visible mold. You can also use a vacuum with a brush afterwards to capture any remaining spores.
Clean and Disinfect
For cleaning and disinfecting purposes, use a product specifically formulated for the leather type for cleaning purposes. You can also choose a good-quality antimicrobial cleaner and apply it with a soft cloth.
Dry Naturally
In this stage, it is recommended to place the leather goods in a well-ventilated area, fan can also work. Do not put the leather in direct sunlight exposing it to the direct sunlight. Ensure the leather wallet is dry to prevent mold.
Condition the Leather
Apply a quality leather conditioner to restore oils after the leather is fully dried. After the application, store it in an area with good airflow, with silica packets or a dehumidifier.
Steps to Remove Oil From Leather
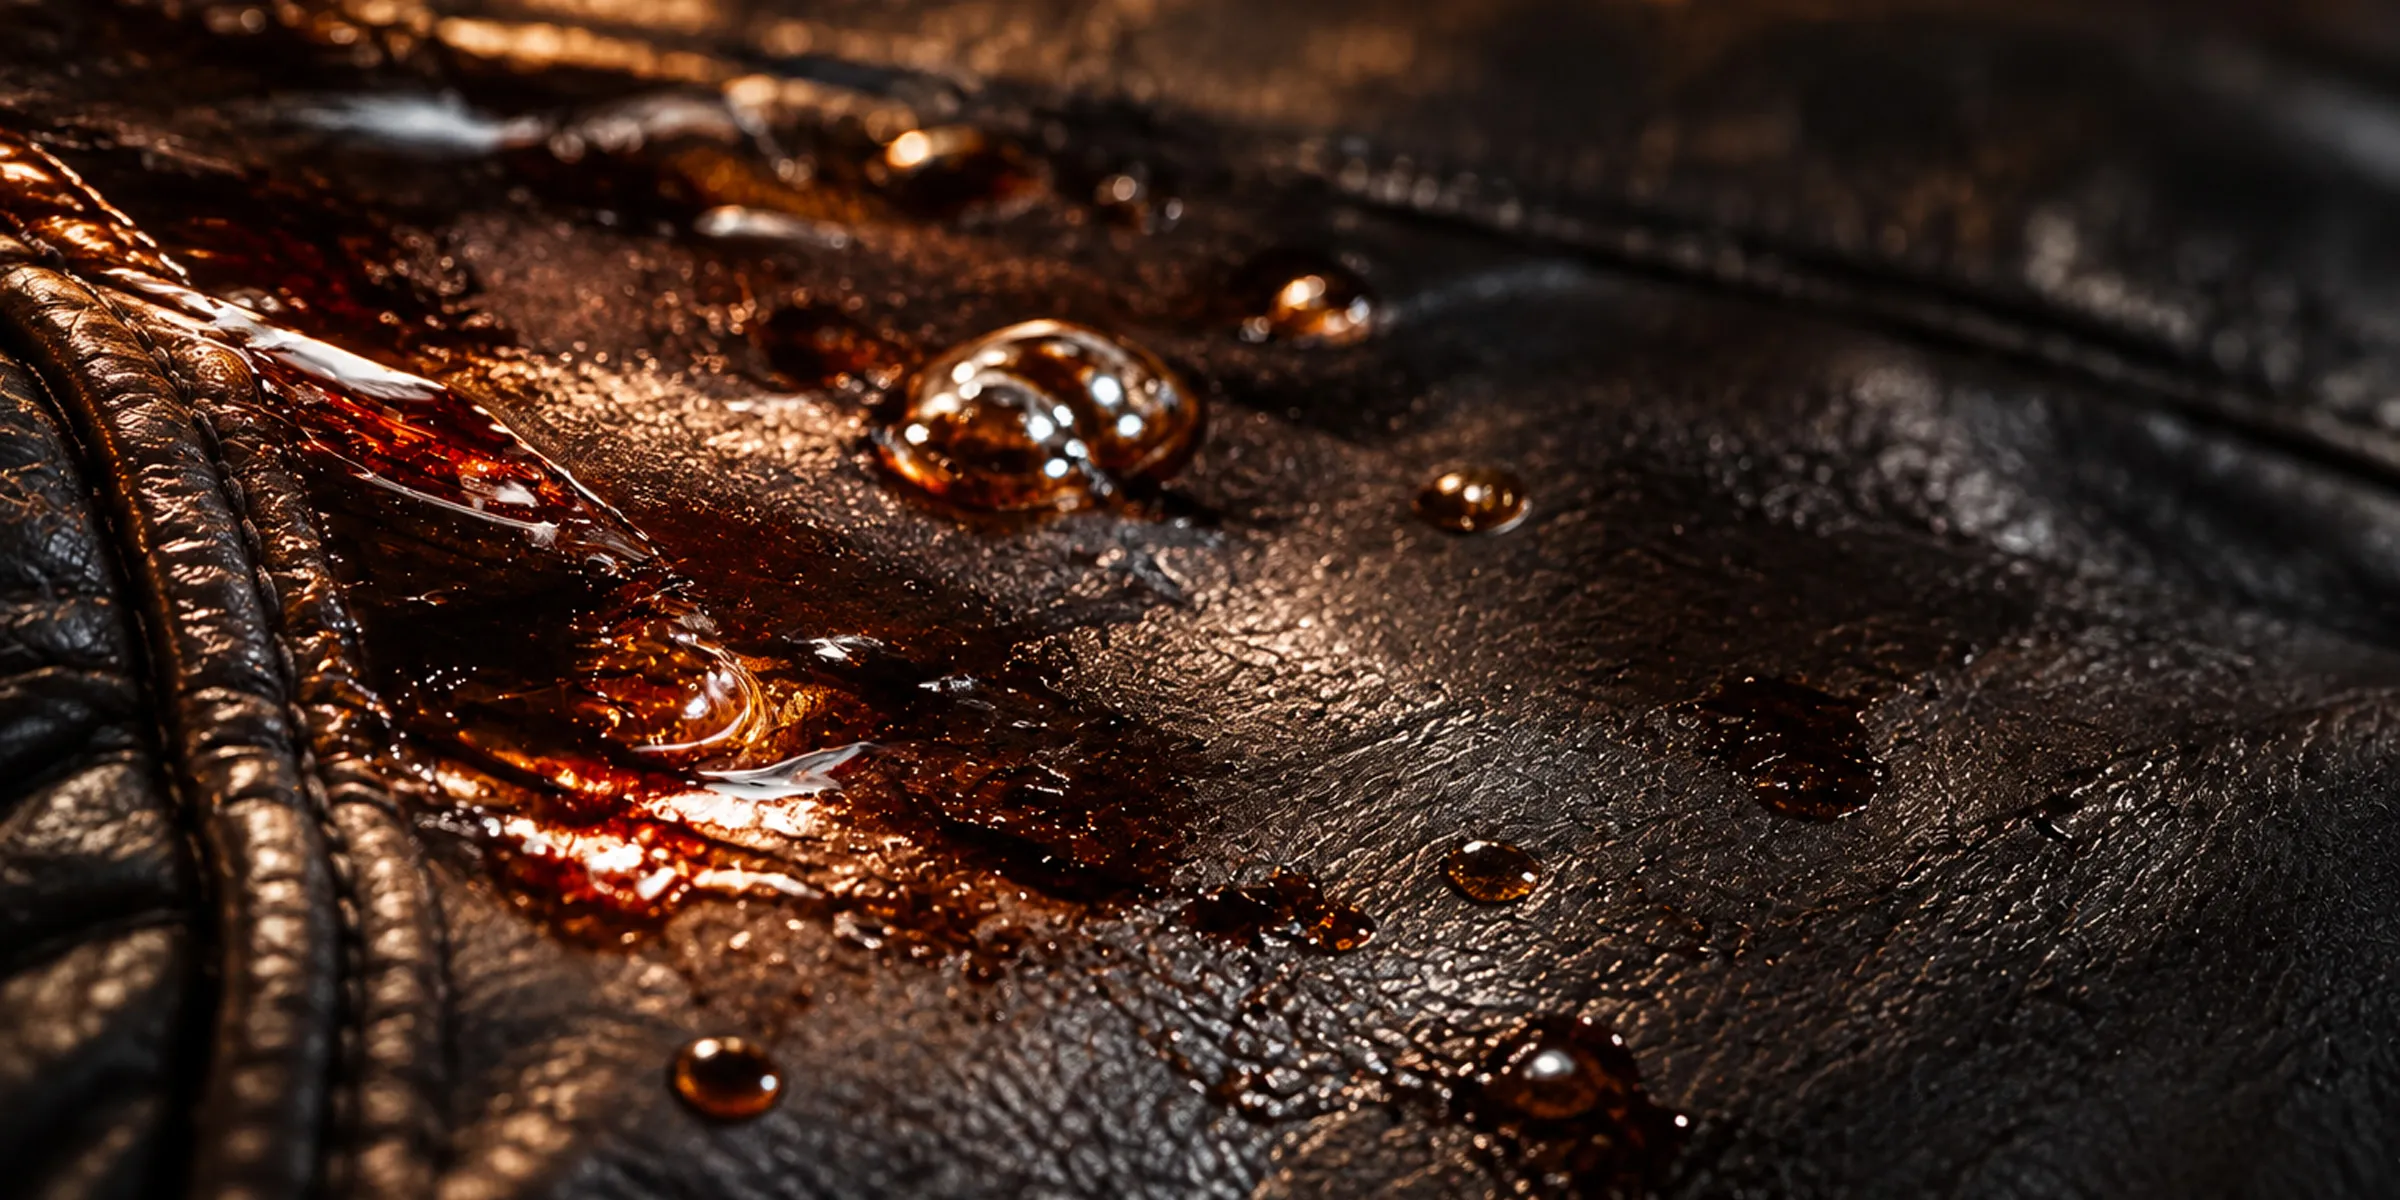
Oil stains are among the toughest and trickiest stains on leather goods. Removing oil from leather needs a proper method to preserve the life and appearance of your leather item. The steps below are safe and most effective for you to implement.
Blot fresh spills:
As soon as you notice the oil on the leather surface, use a clean paper towel or a dry cloth and press gently; don’t rub. Make several attempts and change the cloth until the oil stops transferring to the cloth.
Apply absorbent powder:
Sprinkle the absorbent powder after you blot the oil as much as possible. Gently pat the powder, ensuring that it is in full contact with the oily surface of the leather. This stage is one of the home remedies to remove oil stains from leather.
Let it sit:
Leave the absorbent powder undisturbed and let it sit for several hours. Avoid direct sunlight and keep it in a stable location. This stage needs patience but is a critical part of achieving success in removing oil stains from the leather.
Brush away residue:
After the leather is dry, gently brush away the powder using a brush. Inspect the area closely for stain lightening. If the stain remains after the first treatment, avoid repeatedly applying products. Further treatment may require professional leather cleaning.
Clean and condition:
Gently clean the area and condition it, which restores the sheen of the leather. Also, ensure that the cleaned part is not different from the other non-stained part. This helps you make sure that the process has been done successfully.
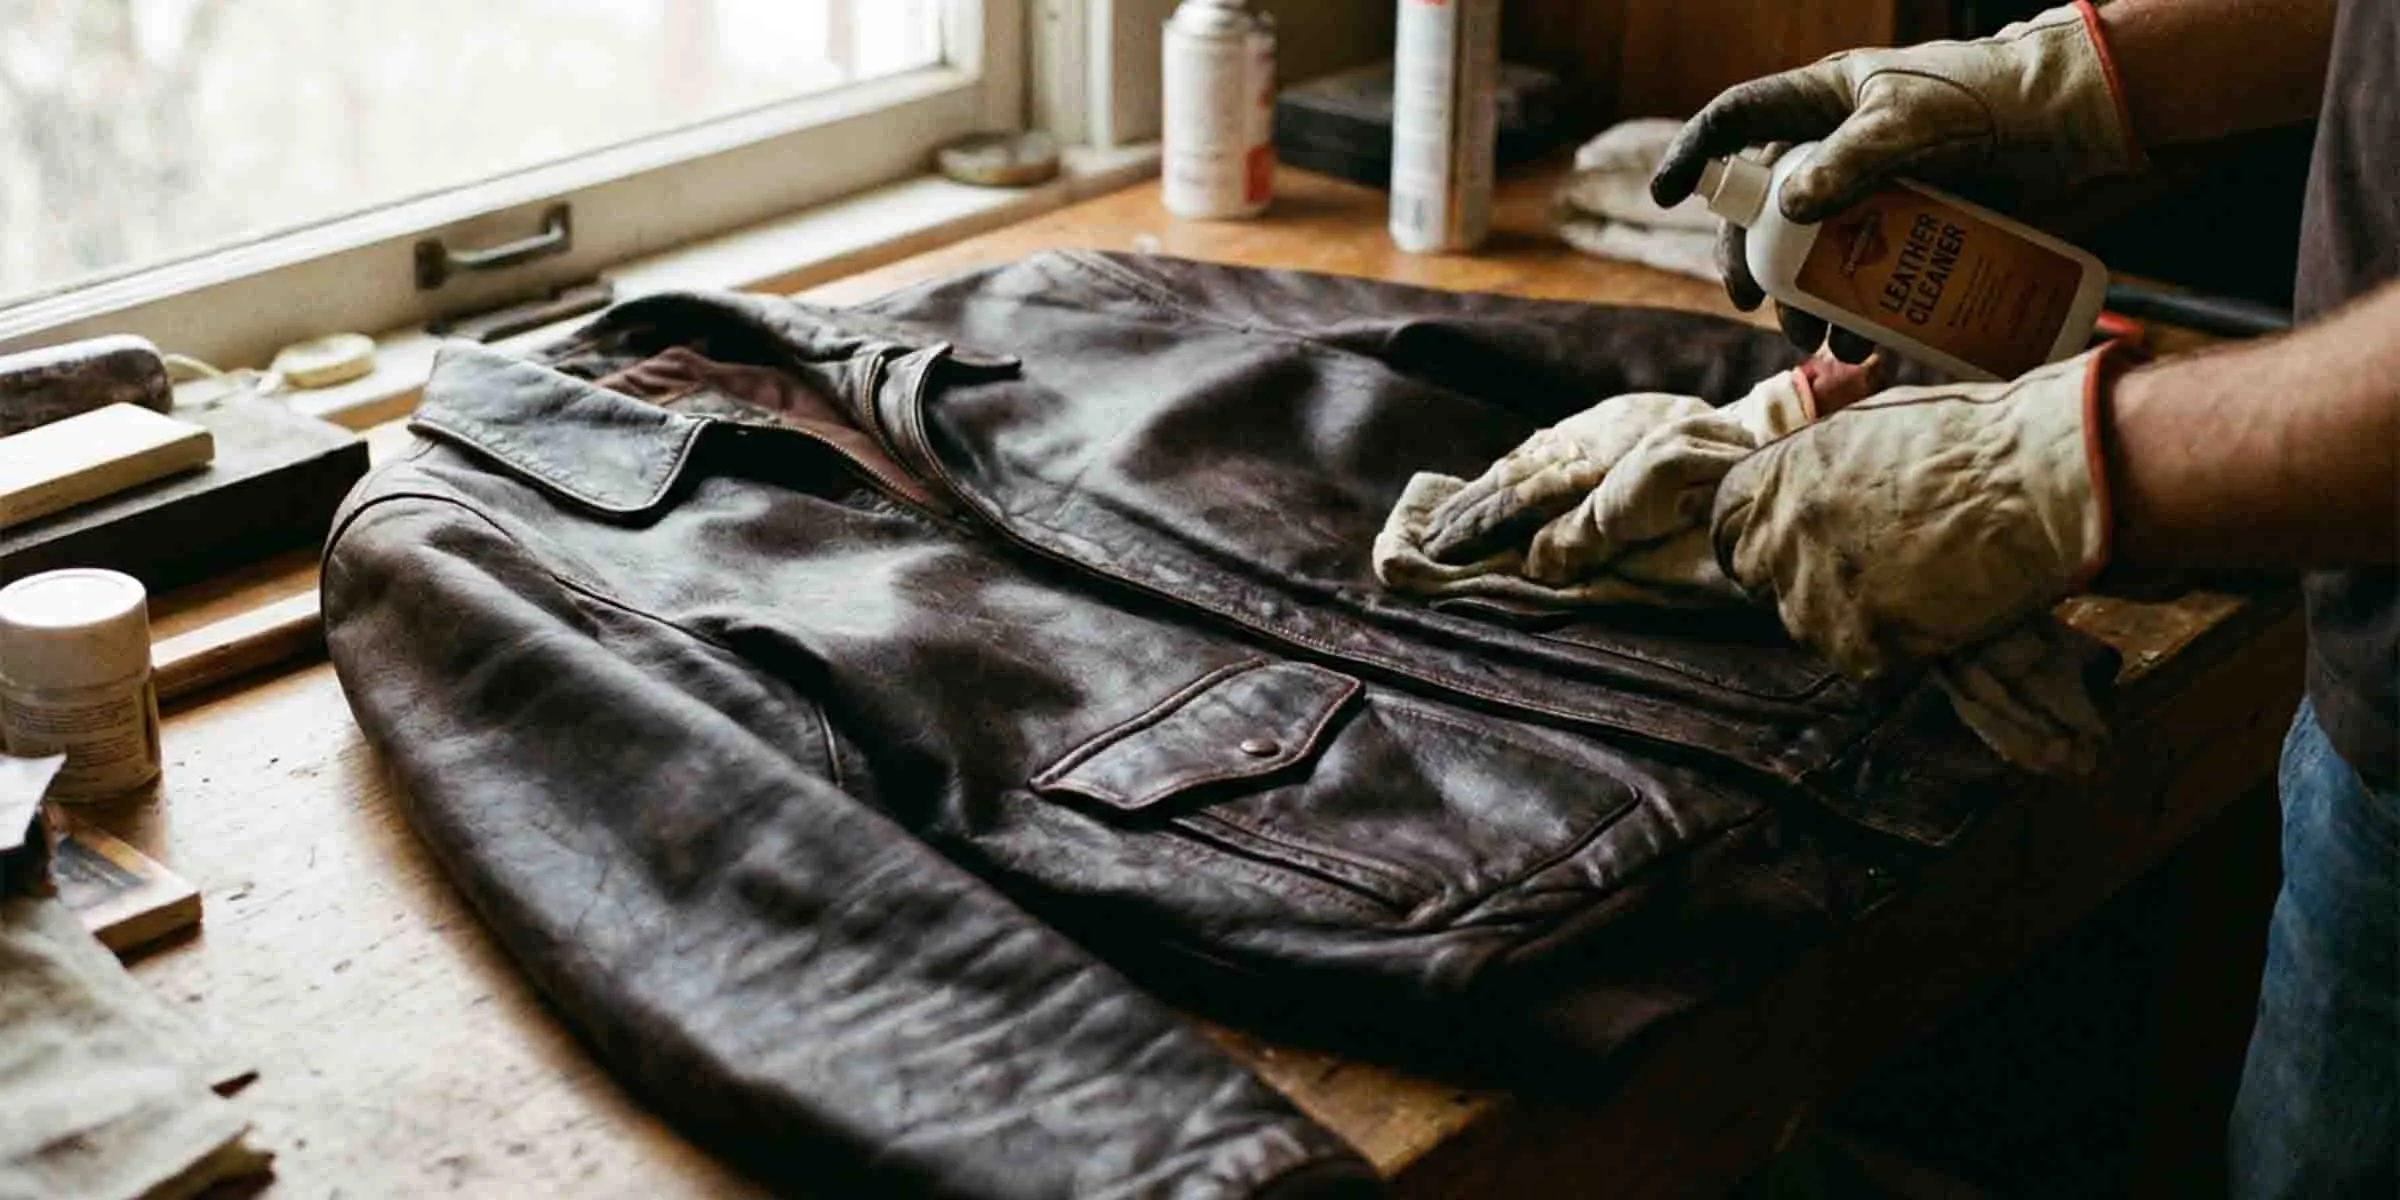
Deep Cleaning Leather for Long-Lasting Quality
Periodic deep cleaning, besides regular and maintenance cleaning, increases the life of leather. Avoiding the common mistakes while doing deep cleaning of the leather will ensure the quality and protection of your investment.
Do:
- Before full application, test the solution on a hidden area to ensure it’s not harmful.
- Use a pH-balanced solution specifically formulated for leather cleaning.
- Allow leather goods to naturally air dry.
- Condition your leather after every cleaning to restore its oils
Don’t:
- Use household chemicals for cleaning leather.
- Press or scrub the leather cleaning solution against the surface.
- Put the plastic bag in poorly ventilated spaces.
SCIN Care Tip: Before applying any cleaner, identify the leather’s finish. A product that works on finished cowhide may not be appropriate for aniline, suede, nubuck or shearling.
Clean Leather-Related FAQs